Saturday, November 21, 2020

Autumn Copper Abstract


Autumn Copper Abstract


This week, I had so much fun creating an abstract autumn stained glass window. Did you know that abstract art does not attempt to represent an accurate depiction of a visual reality but instead use shapes, colors, forms and gestural marks to achieve its effect? I began to wondered how much do I shape or tend to mold myself after people, ideas, and even society norms?


So many times in my past, I have tried to “fit in” but it has only created stress and dissatisfaction. This is why I want to create a healing piece of art that represents what I value. The golden colors remind me of the spiritual aspect of "All That Is". It is symbolic of spirituality and development in the realm of complete understanding, allowing one to both attain and maintain a source of well-being inside and out.


I decided to use 3 different shaped bevels and then create around them to enhance the colors of the glass. Having this “clear” understanding of who I am keeps my intentions and perspective mindful. 

Best of all, when the sun hits the bevels just right...

 A cascade of rainbows fill my kitchen. 


Using the same colors of glass from my fall leaf creation, has made my bay window pop with the beauty of the season.

   Moreover, I tried copper patina for the first time and all I can say is Wow! This was a great learning experience and opportunity for me to grow as an artist and the woman that I am now.


Thank you for visiting, 

Ginger Dawn

Wednesday, November 18, 2020

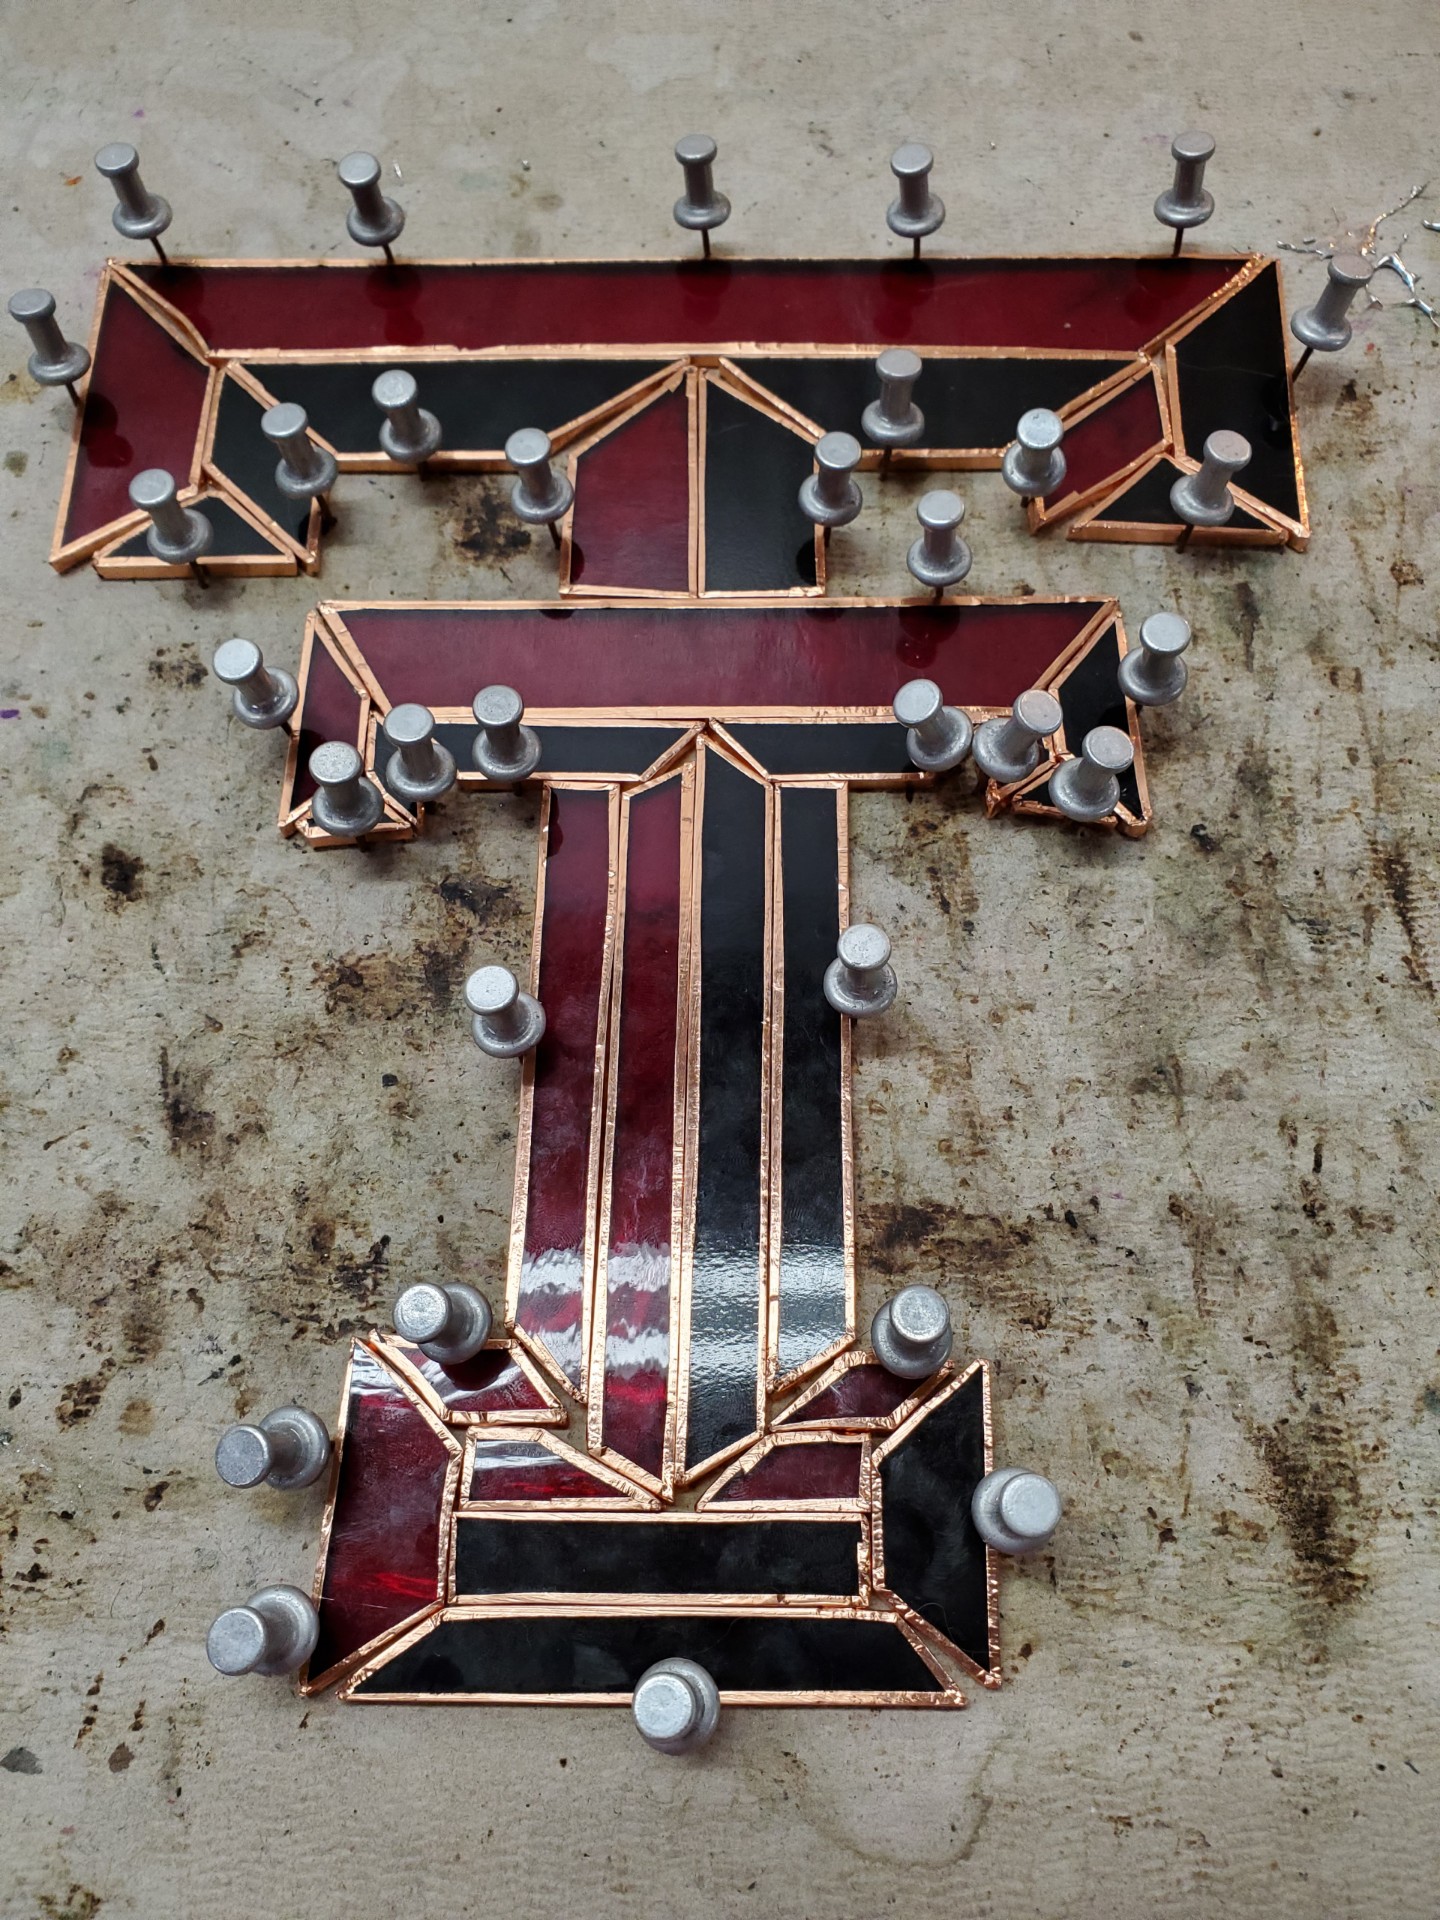
Texas Tech Stained Glass


From here, it's possible!


Fight, Raiders, Fight! Fight, Raiders, Fight!
Fight for the school we love so dearly.
You'll hit 'em high, you'll hit 'em low.
You'll push the ball across the goal,
Tech, Fight! Fight!
We'll praise your name, boost you to fame.
Fight for the Scarlet and Black.
You will hit 'em, you will wreck 'em.
Hit 'em, Wreck 'em, Texas Tech!
And the Victory Bells will ring out.


Double T


Guns Up!


Wreck ‘Em!

Monday, November 9, 2020

Fall Leaves


My First Fall Leaf pictured above! Really enjoyed making this piece!

Fall is absolutely my favorite time of year. The colors, cooler temperature, and changing of the season inspires me to create. I decided to make some stained glass leaves to decorate our home. Did you know that leaves have different symbolic meanings? The green leaves of spring and summer depict hope, renewal and revival. Blazing yellow, orange and red leaves of fall represent the change of season. Ultimately, fallen leaves complete the circle of life with the final stages: decline and death.


"When leaves have to let go of the tree, they wear their best colors and they dance all the way to the ground." Karen Kingsbury, Finding Home


I was rather surprised when I made this leaf. The difference between the light shining through it and shade/night-time is rather striking!


Here is my final leaf that I made this week. I absolutely fell in love with this glass and immediately thought of autumn when I saw it. I really appreciate how each of the leaves I made are different and this really helped me to be grateful that every moment is a unique journey in life.

Ginger Dawn

Thursday, November 5, 2020

Welcome Mr. Owl


It has been a while readers and fall has arrived, I find comfort during the seasonal transition with nature and it’s inspiration. 


I finished Mr. Fall Owl. I am rather pleased with how he turned out. I was inspired by this quote, "The little owls call to each other with tremulous, quavering voices throughout the livelong night, as they sit in the creaking trees." Theodore Roosevelt 


This owl is a gentle reminder for me to use my voice no matter the fear or sense of darkness that holds me back. It is that wise inner knowledge that all will be OK.

I hope you enjoy this short post and would enjoy hearing from you below.

Ginger Dawn


Monday, July 27, 2020

Celtic Stained Glass Window

Mindfully Knotted for Life


Whenever I think of a knot, it reminds me of security. The tightening of two to create one. I decided to challenge myself and make a large stained glass window with the theme described above. I choose the Celtic knot because it has no start or finish and could be said to represent eternity whether this means loyalty, faith, friendship or love. Only one thread is used in each design which symbolizes how life and eternity are interconnected.

I do feel that we are all interconnected in many ways and I try to live my life as mindfully as possible. It is that connection that is represented in the design of the Celtic knot that brings this home to my heart. Life is an array of ups and downs and different perspectives that come and go. This is why I used the cathedral and beveled glass to give the different perspective as light shines through the glass.


So... what did I learn from this project?

Lesson One: Don’t let fear hold you back! I admit this was a huge project. And I was afraid it was above me and my skills. Yet, I am so happy I pushed through! Heck, why was I about to give up on a widow before I started? I have survived much harder stuff! 


Lesson Two: Accept that trying and failing is part of the process! I had to let go of “perfect” and “High Expectations,” those twin robbers who steal the joy and healing of what I am creating! I was trying and so what if I messed up a few times. I learned to use my mistakes as an opportunity to grow.

I did not realize how much that “Free Shipping” would cost me, along with the fees that Etsy was given for “Off Site Ads.” Yet, this reminder was good because this is the learning part of selling online. I know in my heart that each item I make goes where it needs to.


Lesson Three: Gratitude! Gratitude! Gratitude! I am so grateful for this opportunity to make and sell my stained glass. The biggest surprise for me was that I sold this window and this gave me such a good feeling that my art is appreciated and can sell. Moreover, I am so grateful for the profit because it was just enough to pay for one month of my therapy. Honestly, I really didn’t have a loss. I gained in more ways than one!

I really appreciate you reading this post! It means a lot to me that you took the time to visit my blog. If you are interested in looking at my other items for sale please visit this link at Shards & Sawdust. I also hope I inspired you to create art and take on more mindful habits in your life.
Ginger Dawn

Monday, June 8, 2020

You’ve seen some shards…now for some sawdust


Beyond just doing stained glass, my wife has also started quilting. She’s very talented and adept at learning new skills and I figured that there were probably some items that I could make to go along with her quilting.

My Wife's First Quilt  donated for a WV Foster Child.
My Wife's first handmade quilt donated for a WV Foster Child.

I’ve owned a lathe for a number of years.  I bought one of the Harbor Freight specials, but for what I needed, it was fine.  I wanted to own one and carry on what I had learned many years ago in high school…yes, there was a time in our history that schools taught wood shop.  Too bad that class has mostly become extinct.  Anyway…I purchased a lathe and my first real project was making legs for a small desk I made my wife.  After that project, it mostly sat dormant for years and years until we moved to where we live now and I got back into turning.

A hand-turned bowl made from Cherry.

I started back into it by turning small bowls using some blanks I bought on sale at Woodcraft.  I found bowl turning not only enjoyable, but relatively easy with the right “gadgets” to help along the way.  In addition to bowls, I decided to try my hand at making pens and other items that go beyond just bowls.  It turns out there is a plethora of kits you can buy to make not only pens, but salt and pepper shakers and grinders, pizza cutter handles, and yes…the aforementioned quilting items known as seam rippers.
Once my wife began quilting and making friends with the local quilting guild, we were told that some ladies had purchased some handmade seam rippers that they really liked and that if I do woodworking, I should make some to sell to the other ladies.  With my trusty credit card and link to a particular pen and project-making website, I purchased a few kits.


I made two that have a pen-type clip you could clip in your pocket or sewing bag.  These feature a reversible blade that you pull out and flip around when you need it, the flip it back to keep it from poking you.  These first two were single-ended (I have a couple of kits for a double-ended one)
and were made to see what it takes to produce these items.  The kit is well made and fairly easy to assemble using my pen kit press.  There’s not much wood that needs turned and the time it takes is relative to how creative I am at the time.
I had found later that there were kits that are necklaces with a magnet that holds the seam ripper to the necklace. Quite clever!  Once one of my wife’s fellow quilters saw that style, she said that was the one that would be a hit.  So, exercising my credit card prowess, I ordered a kit of six and made them all in a few hours (to my wife’s surprise and delight).  I tried to create a different style for each one (which being handmade, they’re unique in some way already) with three different types of
wood.  I had some pen blanks that I had purchased a couple years ago and they worked out great.  I made two of each species: 2 Purpleheart, 2 Paduk, and 2 Zebrawood. 
I had never worked with any of these species before this project.  They’re easy to turn and really pop when you apply a finish.  These were all finished with a friction polish.  Essentially, the polish is made of a fast evaporating medium with a dissolved shellac.  Applied to a paper towel, the heat from the spinning part melts the shellac, creates a layer of finish, and the rest evaporates away to leave the shellac behind.  I haven’t been able to get it to a high luster however, I feel that for grip, it would probably be better than a smooth or slick finish.  Based on feedback from the quilting group, I may adjust the finish and use what’s called a CA (cyanoacrylate or super glue) finish.  I haven’t had great luck with CA finishes but I think the glue I was using was the culprit.


Overall, we were pleased with the results and the assembly was less tedious than the clip-type ripper.  We feel that the necklace would be more popular anyway because it may be less prone to be misplaced or lost.  They were easy for me to make and allowed me to try different designs and styles which, in a way, is a little difficult with small wood blanks and a shortage of creativity on my part.  There’s only so much I can do with curves and grooves…but hey…they’re handmade and unique either way right?
I have placed some of the seam rippers for sale with free shipping at our Etsy Store, Shards and Sawdust
Stay tuned for another sawdust post in the near future where I show some cutting boards that I’ve made.